Photography
Airbnb Listing Photos: Shot Order, Light and Honesty
Airbnb listing photos that get clicks and bookings: the cover shot, gallery order, light, staging without faking it, and the checklist I use on every shoot.
By Tamara10 min read
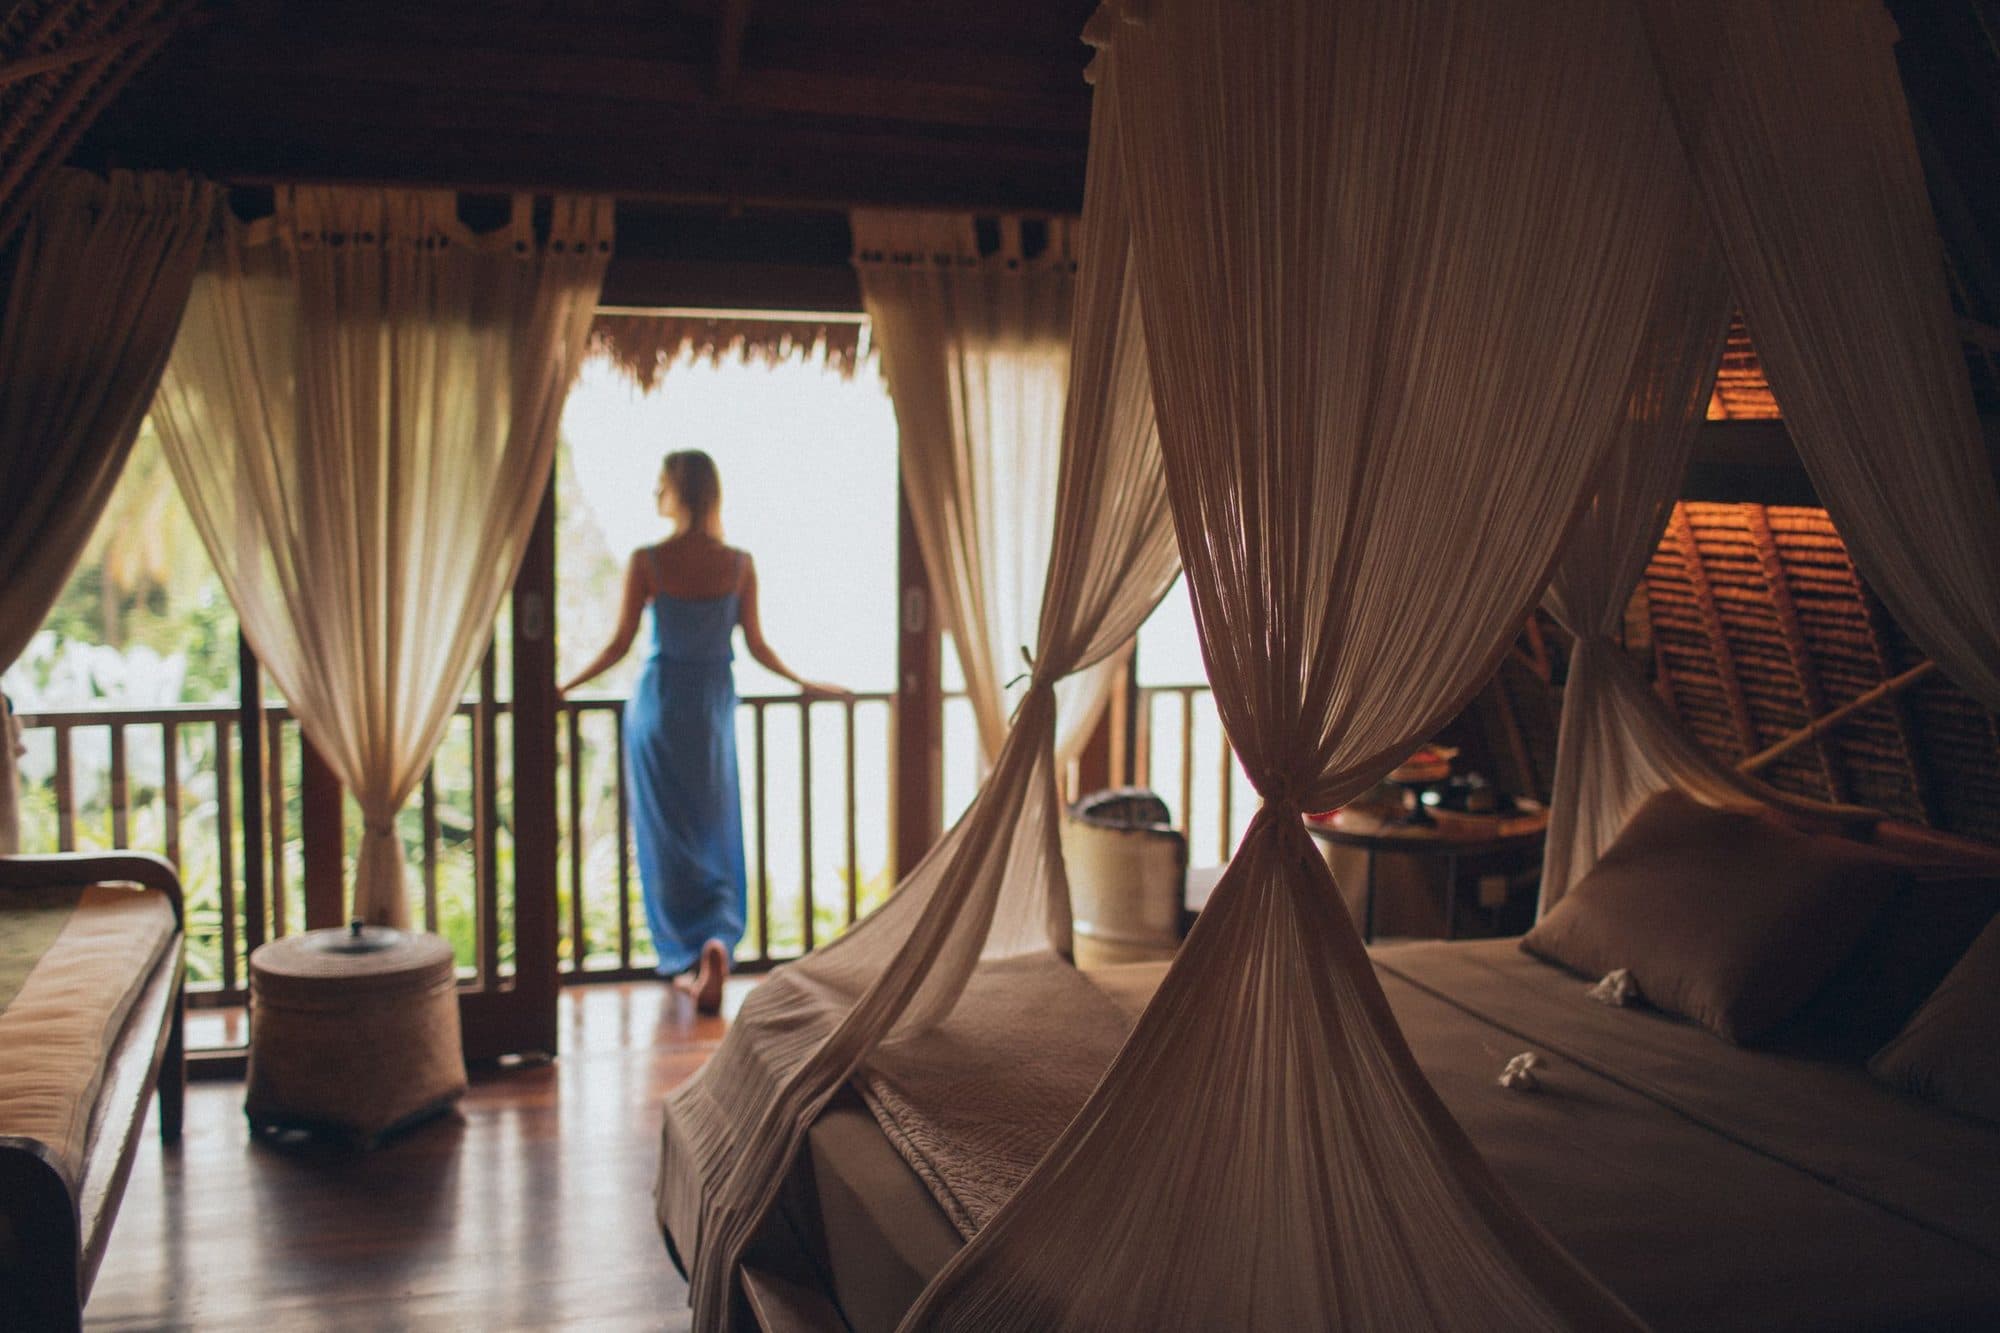
The best Airbnb listing photos do three things: they make one strong first impression, they walk the guest through the place in a sensible order, and they match what the guest finds at the door. Everything else is detail. If you get those three right, the rest of the listing has far less work to do.
I'm Tamara, and I shoot holiday rentals as part of my work for independent stays. Below is how I plan an Airbnb photo set, from the cover image to the last frame, with a checklist at the end. It applies just as well to Booking.com and VRBO, because guests read all of them the same way: fast, on a phone, comparing.
Start with the cover photo
The cover is the only photo many people will ever see. It sits in a grid of other places, usually small, and it has a second or two to earn a tap. So it should not be the most complete photo of the place. It should be the most appealing one.
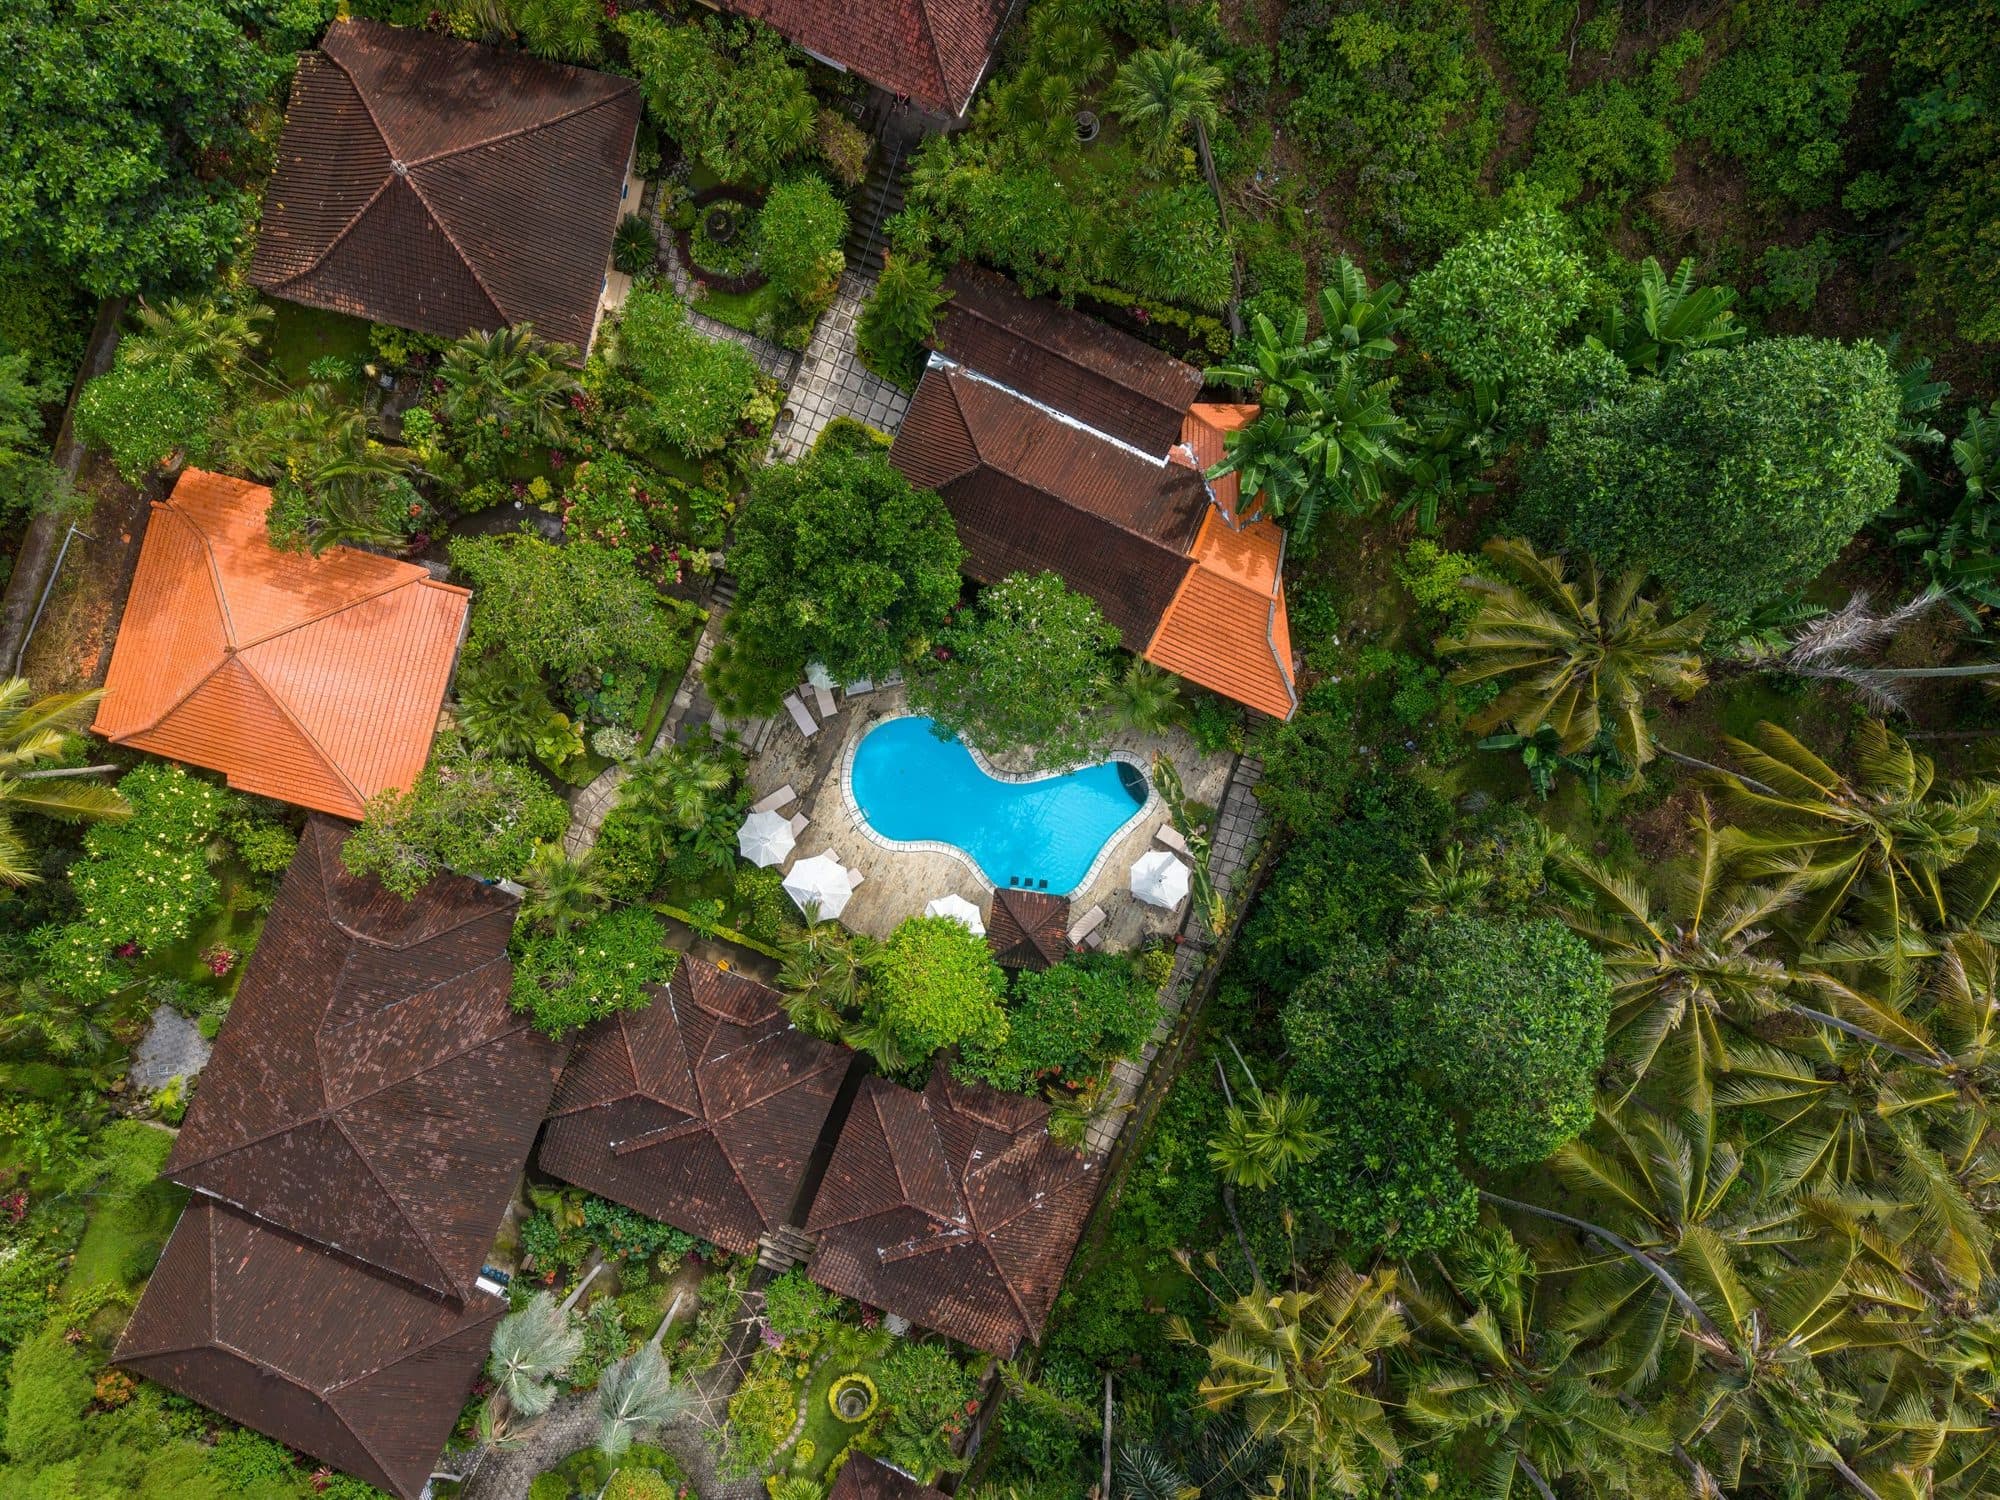
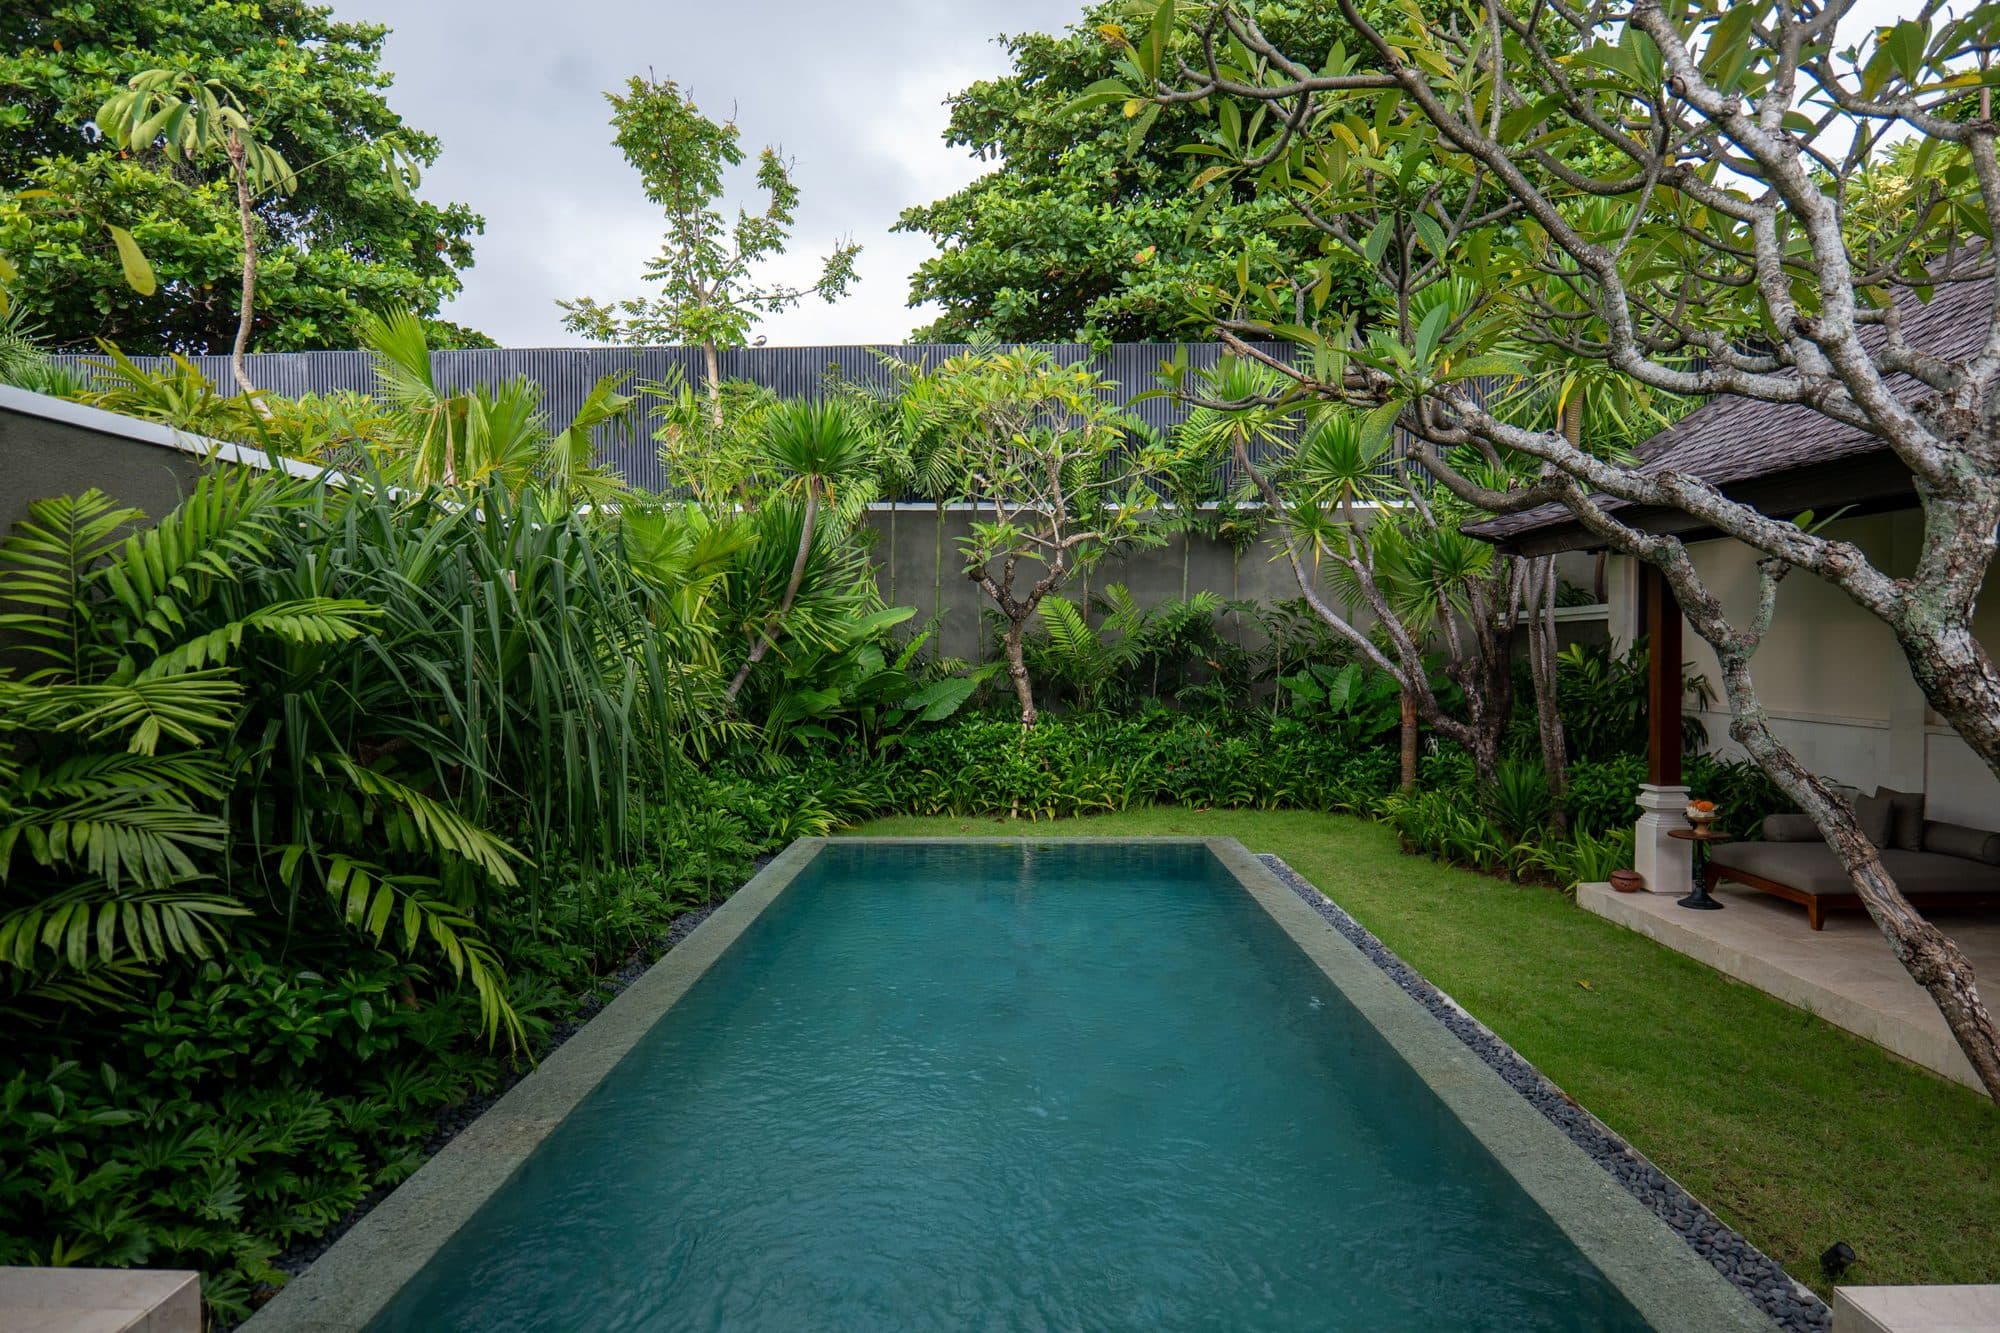
Pick the thing your place does better than its neighbours. For a villa that is often the pool with the building behind it. For a city apartment it might be the window and the light across the bed. For a homestay it can be the terrace where breakfast happens. Choose one subject, keep the frame uncluttered and make sure it reads at thumbnail size.
A few rules I follow for covers:
- Horizontal, bright and sharp, with the subject clear even when small.
- One idea only. A cover that tries to show the pool, the bedroom and the view shows none of them.
- No text, no logos, no heavy filters. They age badly and some platforms dislike them.
- It must be a place guests will really get. A cover that shows a view the room does not have costs you in reviews.
Gallery order: tell the story of arriving
After the cover, the gallery should read like walking in. Guests scan the first few photos and then decide whether to keep going, so the order matters as much as the images.
My usual sequence:
- The cover, then the main living space or the best second space.
- The bedroom guests will actually sleep in, shot square-on so the bed is the hero.
- The other bedrooms, in the order a guest would find them.
- Bathrooms, one clear photo each.
- The kitchen and dining area.
- The outdoor space: pool, garden, balcony or terrace.
- Amenities and details: workspace, laundry, air conditioning, the coffee setup.
- Neighbourhood and exterior: the front of the building, the lane, the walk to the beach or cafe.
Treat it like a floor plan told in pictures. If a guest can build the layout in their head after twelve photos, you have done the job. If they have to ask in a message where the second bathroom is, the gallery missed something.
Light and time of day
Good light does more for a listing than a good camera. The simplest improvement most hosts can make is to shoot each space when it looks best, not when it is convenient.
Some practical habits:
- Turn off the harsh overhead lights and open the curtains. Mixed light, with a warm bulb fighting daylight, makes rooms look muddy.
- Bedrooms and kitchens usually like soft daylight from a window, not direct sun on the bed.
- Pools and terraces look best in the gentle hours after sunrise or before sunset, when the water is calm and the shadows are long. At midday the glare flattens everything.
- If the view is part of the sale, shoot it in the light guests will actually see it in, and be honest about what the weather does in your season.
In Bali I often split a shoot across two visits: indoor rooms in clean morning light, then the pool and garden as the afternoon softens. If you want to see how the setting shapes this, my page on content creation in Canggu covers the local light.
Staging without faking
Staging is about helping a guest see how the space works, not inventing a life that is not there. Hosts often get stuck here, either leaving everything as is or over-dressing a room until it no longer looks like the real thing.
What works:
- Make the beds properly, with crisp linen and the pillows you really provide.
- Clear the surfaces. Remove cables, bin bags, toiletries and the host's personal clutter.
- Add small, true touches: a bowl of fruit if you do offer fruit, fresh towels, a plant that lives there, a glass of water by the bed.
- Keep the furniture you really have. Do not borrow a sofa that will not be in the room on arrival.
What does not work is staging that creates a promise. A bathtub with rose petals when the bathroom has only a shower. A breakfast spread when you provide a basic kit. Guests notice, and then they write about it.
What guests zoom into
When someone is close to booking, they start zooming. A good gallery has already answered the questions they are about to ask.
Beds. Show the bed clearly, with the real size visible and room to move around it. Sleep is the product. If there are several beds, make the sleeping arrangement obvious.
Bathrooms. One clean, well-lit photo per bathroom, showing the shower or bath, the sink and the general condition. Guests are checking cleanliness and whether it is shared.
Workspace. Plenty of guests work while they travel. If there is a desk, show it with a proper chair, a power point nearby and a window. If there is no desk but the dining table works, say so in the caption rather than hide it.
Kitchen. Show the surfaces, the hob, the fridge and the tools. People want to know if they can cook a real meal, make coffee and wash up.
Outdoor space. Show how it connects to the house and where people will sit. A pool photo that makes the distance to the bedroom clear is more useful than a perfect pool photo from far away.
Laundry and practicalities. A washing machine or an air-conditioning unit is not glamorous, but for a longer stay it can be the deciding detail. A clear photo of it is a small act of trust.
Honesty is the whole point
The fastest way to damage a listing is photos that do not match the place. Wide lenses can make a small room look generous, and heavy editing can make a grey day look sunlit. Guests arrive, compare, and leave a review that quotes the difference.
So I shoot straight lines, natural colour and a lens that keeps the room recognisable. If a room is small, I show it small but well kept. If the view is partial, I show the partial view and the reason it is lovely. A guest who arrives and thinks "this is what I saw" is more likely to relax, and a relaxed guest is more likely to write a kind review.
Honest does not mean dull. It means picking the real strengths of the place and showing them well. A good small room can feel cosy and calm in photos without pretending to be a suite. That is also easier to keep up with once the guest is there.
Add video and Reels for direct bookings
Listing platforms are built around photos, but your own booking page and social feeds can carry more. A short walkthrough video lets people see the layout, the distance from bed to pool and the sound of the place. A few vertical clips cut from the same footage can go on Reels, TikTok and Stories to bring people to your direct page.
This matters because guests who find you on a platform are comparing you with everyone else on that platform. People who arrive from your own feed or website have already chosen to look at you. If you want to build that side of the business, my guide on direct bookings and content beyond Instagram covers where each type of content belongs. For the filming itself, a property walkthrough shot in one steady take is the foundation, and the short clips come out of it.
What does Airbnb itself recommend?
It is worth checking the platform's own advice against what I do. Airbnb's Resource Centre tells hosts to shoot horizontally for better display in search results, to switch off the flash and use natural light, and to take wide, mid-range and close-up shots from neutral angles without tilting the camera up or down. It suggests shooting outdoors in the 60 minutes after sunrise and before sunset, and gives a minimum resolution of 1200 x 800 pixels (Airbnb Resource Centre: how to take great photos for your listing). That lines up with the habits above, which is reassuring. Specs can change, so check the current page before you export.
Booking.com has its own rules, and they are stricter on some points. Its Partner Hub asks for landscape photos only, at least 2048 x 1080 pixels, at least ten photos, at least four per room or unit and at least one bathroom photo. It lists things to avoid, such as heavy filters, over-processing, collages, watermarks, extreme wide-angle or fisheye lenses (Booking.com Partner Hub photo requirements). If you list on both, shoot to the stricter rule once and export two crop sets. Our guide to Booking.com property photos goes into that side in more detail.
Use captions and the photo tour properly
Photos cannot say everything. Airbnb suggests adding captions for features that are not obvious in the picture, organising images into a photo tour by room, and including details such as bed size or seating capacity (Airbnb Resource Centre). Captions are where honesty becomes useful.
Good captions are short and factual:
- "Queen bed, blackout curtains, air conditioning. Opens to the pool terrace."
- "Shared bathroom with the second bedroom. Rain shower, hot water."
- "Dining table seats six and works as a desk for longer stays."
- "The pool is five steps from the bedroom door, with a shaded daybed."
Avoid captions that oversell. "Stunning" says nothing; "ten metre pool, no overlooking neighbours" says something a guest can verify.
A worked example: re-ordering a gallery without reshooting
Say a two-bedroom villa in Pererenan has twenty-six photos, a pool cover shot and mediocre bookings. Before ordering a new shoot, try this:
- Cut duplicates. If three photos show the same pool angle, keep the best.
- Move the bedroom guests will sleep in to position two or three.
- Put the second bedroom and bathroom next, so guests understand the layout.
- Move the kitchen and workspace ahead of exterior shots.
- Write a caption for every photo that needs one.
- Replace only the weakest images, usually dark bathrooms and the midday terrace.
Many hosts find that a re-ordered, captioned gallery answers more questions than a larger one. If it still does not, the issue is photo quality, and that is when a new shoot pays off. For ideas on the wider website side, see hotel website photos that convert.
A short checklist for your photo day
Use this before you shoot, whether it is you with a phone or a photographer on site.
- Pick the cover shot and the light you want for it.
- Clean everything, then clean it again, especially bathrooms, glass and the pool.
- Remove personal items, cables, bins and clutter.
- Make the beds with your real linen and pillows.
- Open curtains, switch off harsh overhead lights, and use daylight where you can.
- Shoot each room straight on, at chest height, with vertical lines upright.
- Take the outdoor areas in soft morning or evening light.
- Photograph the workspace, kitchen, laundry and any amenity you list.
- Capture the front of the building, the street and the walk to the places you mention.
- Shoot a short walkthrough and a few vertical clips for social.
- Check every photo against the real place before it goes live.
Who should shoot it
If you have a good eye and good light, you can do plenty yourself. If the listing is how you earn, a photographer who understands holiday rentals pays for themselves in consistency, editing and knowing the shots guests want. My hotel and villa photography is built around exactly that: listing-ready sets in the right order and crops, plus extra images for your own site and feed. If you are curious about the Airbnb side of what I do, see my page on content for Airbnbs and holiday rentals, or get in touch and tell me about your place.
The short version
Choose one appealing cover. Order the gallery like walking in. Shoot each space in its best light. Stage lightly and truthfully. Show the beds, bathrooms, workspace and kitchen clearly. Keep the photos honest so reviews match. Write honest captions and tidy the gallery order. Add a walkthrough and a few Reels for your own booking page. If you would like it done properly in Bali, a Content Stay or a Content Day with Postcard Studio is a good place to start, and you can tell me about your place and we will take it from there.